Showing posts with label sweets. Show all posts

Gluten-free Blueberry Orange Muffin Recipe


Hello to everyone visiting from Pinterest!  I'm so happy that you've found my little corner of the Internet :) There's quite a bit here to explore, so please have a look around! Also, I'd love it if you would join us over on Facebook:


I was totally stumped with what to do with the coconut flour Bob's Red Mill sent in the trio of ingredients to review... We don't have any major gluten intolerance in my house, and there usually isn't anything fabulously-tasting about gluten-free foods. But, in a burst of creativity one night last week, Little Bear and I ventured into the world of gluten-free baking.

My expectations were low, but, I dare say that these little gems are so amazingly moist and flavorful, that no one will suspect that they are gluten free at all!

For an extra treat, we topped with whipped cream!

Ingredients
  • 1/2 cup + 1 tablespoon coconut flour, sifted or whisked to remove lumps
  • 1/2 teaspoon sea salt
  • 1/2 teaspoon baking soda
  • 3 extra large eggs
  • 1/2 cup unrefined honey melted
  • 1/2 cup coconut oil, melted
  • 1 tablespoon vanilla extract
  • 1/4 teaspoon orange extract 
  • 1/2 cup frozen blueberries
  • 1/2 cup fresh orange segments, finely chopped
Directions

1.  In a small bowl, mix together the coconut flour, salt and baking soda.

2.  In a large bowl, combine eggs, honey, coconut oil, vanilla, and orange extract. Mix on high until the mixture is even.

3.  Mix dry ingredients into the wet ingredients. Mixing on high until all of the lumps are removed (you aren't developing the gluten like you do with wheat flour, so you won't make the muffins tough by over mixing).

4.  Gently fold in blueberries & orange pieces.

5.  Fill baking cups about 3/4 full (about one level ice cream scoop per cup). I used the nut & party cups or the Martha Steward papers with foil on the inside, because they keep their color and shape beautifully after baking!

*someone* may have dipped into the batter before the muffins made it to the oven...

6.  Bake at 350° for about 20-25 minutes.

Makes 12 small muffins.

Forget everything you know about gluten-free baking, because you will be amazed by these muffins. I served them at a Stella & Dot trunk show I hosted this weekend, and everyone asked for the recipe!

Happy baking, y'all!


Homemade Instant Trail Mix Oatmeal {Not your granny's recipe!}


I think I've been pretty open about my dislike of oatmeal. Sure, it lowers cholesterol... Sure, it is whole grain and is a "real food." Sure, it's high in fiber and low in calories... Sure it boosts your immune system... Sure, it's gluten-free... {someone stop me...}

But, it's OATMEAL. Blech. Just not my cup 'o tea...

However, Little Bear is (for whatever reason) a huge fan.

Since we got rid of our microwave, it's pretty time-consuming to make a bowl of traditional oatmeal. It has to be simmered and whatnot, and I'm just not a morning person. Seriously. At all. Plus, the instant oatmeal packets have tons of refined sugar and artificial flavors, and the 100% oatmeal instant oatmeal is just gross. (read: no oatmeal for LB in the mornings)

Cue the homemade instant oatmeal!

This was a weekend project for Mommy and LB (along with frozen bean burritos and breakfast burritos), and was actually really easy to throw together:

Ingredients
  • 6 cups rolled oats
  • 3 cups dried fruit
  • 1 1/2 cup shredded coconut, unsweetened
  • 1 cup nuts
  • 1 cup chia seeds
  • 1/2 cup turbinado sugar


Directions

Toast the oats in the oven at 350 degrees for 20 minutes, or until lightly browned.


Lightly pulse 2 cups of the oats in a food processor (just enough to roughly chop the oats.) Pulse 2 cups of the oats slightly longer, and pulse the remaining two cups into a coarse flour.


Chop the dried fruit, either by hand or in a food processor. You can use anything, but I usually use figs, dates, and apricots. If you use a food processor, throw a handful of the oats in with the fruit to keep it from sticking together in an icky mess.


Toast the nuts until they are fragrant, but be sure not to burn them - maybe 5 minutes (the oils in nuts will make them burn pretty quickly if left unattended). I use pecans, but any nut will work.

If you want, toast the coconut, too. I love the warm toasty flavors in the morning!

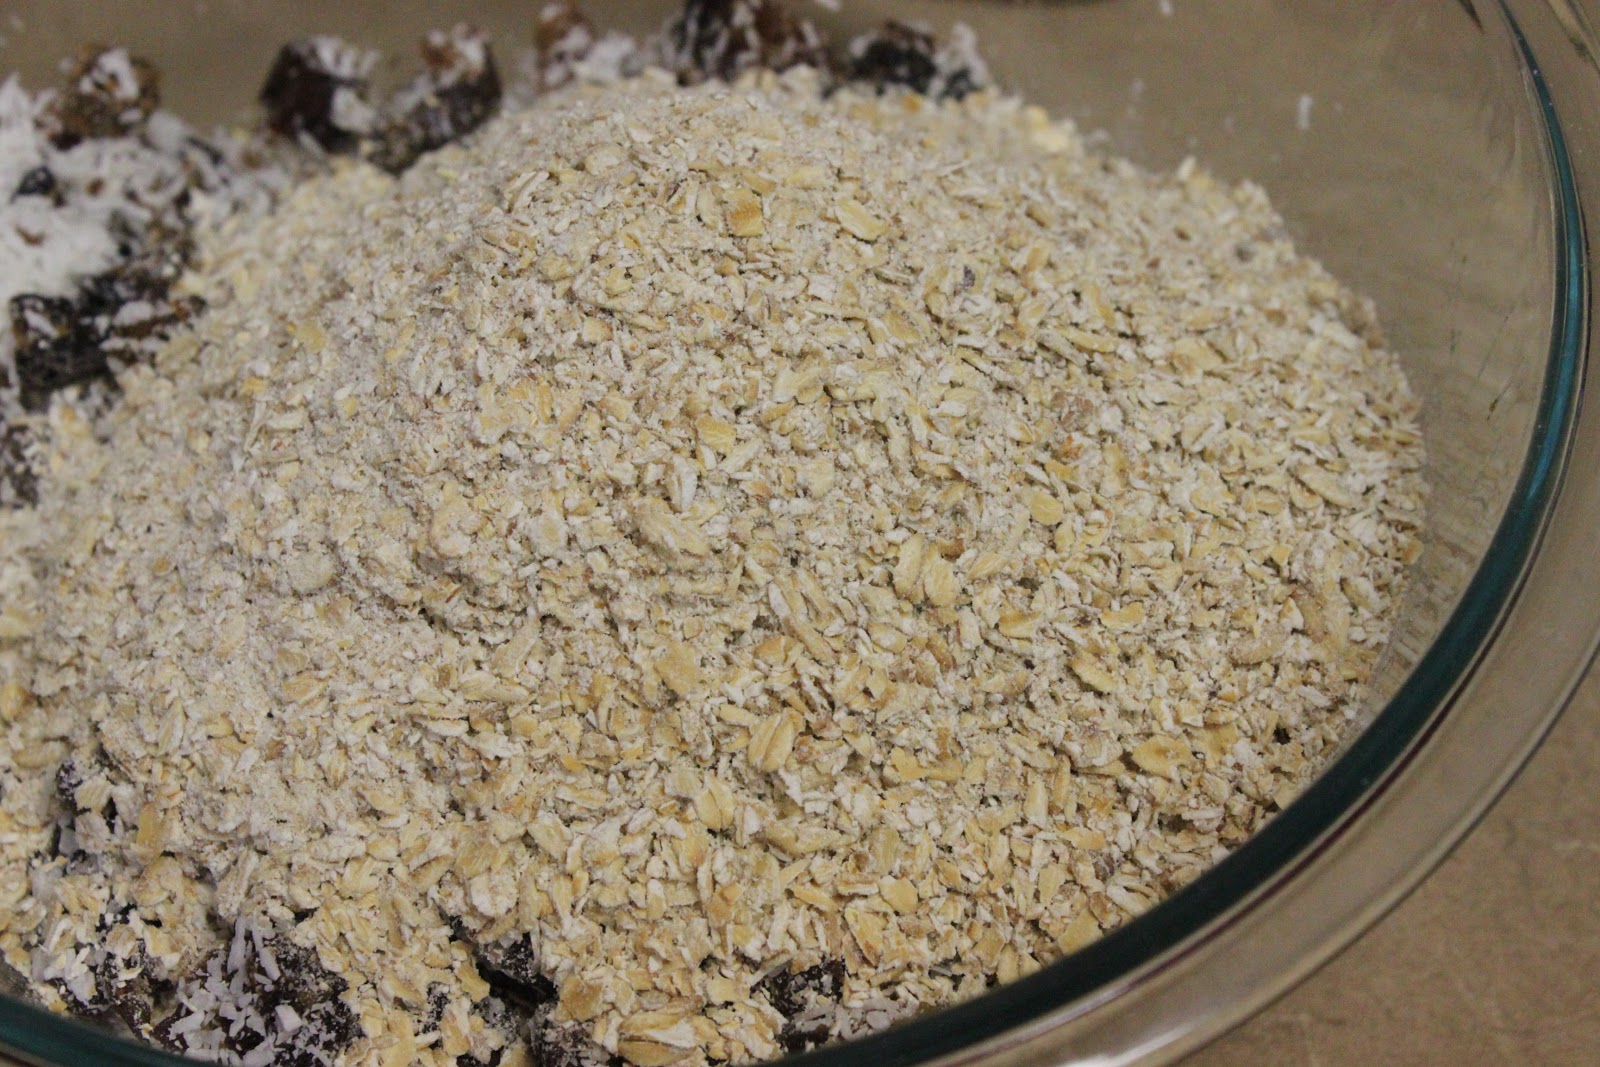
Combine all of the ingredients in a large bowl. If you didn't add oats to the food processor with the fruit, you may have to break the fruit bits apart by hand, but the oats should help keep them from sticking once they're mixed together.

Unsweetned, Shredded Coconut

Store in an airtight container.


To serve, mix approximately equal parts oatmeal mix with equal parts hot water (I use my tea kettle to heat it up). Stir and let stand until thickened. Add more water, if needed. I think about 1/3 cup of the oatmeal makes a decent breakfast serving. It's much hardier and filling than the stuff sold in packets!

I have to admit that I actually really like this oatmeal! It's not gooey and is anything but bland. Plus, it's super versatile. Literally every ingredient except the oats can be subbed or eliminated without hurting the recipe!


My best estimate is that it's about $.50 per serving if you go all organic and buy from the bulk section. I wish I had a better price estimate for you, but it's harder to estimate bulk pricing when I buy ingredients for more than one purpose (ex, LB takes dried figs/dates/apricots for snack to school and I use chia in just about everything around here..)

**UPDATE:  I carefully measured out my ingredients from the organic bulk bins and and did the math. Each 1/3 cup serving came out to $.45! The price is just about the same as the Quaker junk, but this is real, wholesome food that will really give you a smart start to your day!**


What flavor combinations will you be trying??

Homemade Peppermint Marshmallows


Hello to everyone visiting from Pinterest!  I'm so happy that you've found my little corner of the Internet :) There's quite a bit here to explore, so please have a look around! Also, I'd love it if you would join us over on Facebook:


Who doesn't love marshmallows?!  That's rhetorical.  If you don't love marshmallows, we can't be friends anymore.  Just don't tell me.

We just got a firepit for the back porch, so marshmallows were a must.  I'm too cheap to spend the big bucks on the natural options (Plush Puffs are a-mazing!), and the high fructose corn syrup options were obviously a no-go.  There are several icky ingredients in Kraft's Jet-Puffed marshmallows:  Corn Syrup, Sugar, Dextrose, Modified Corn Starch, Water, Gelatin, Tetrasodium Pyrophosphate, Artificial Flavor, Artificial Color (Blue 1). Really, Kraft.  Really?  Why in the world would marshmallows need artificial food coloring??

I'd never made marshmallows before, but I was up to the challenge.  I think if the world knew how easy homemade marshmallows were, Kraft would quite possibly go out of business.  Husband just vehemently declared that he'll never eat a bagged marshmallow again.  As we polish off our 5th (6th?) giant mallow, I know I'm going to regret the indulgence later.  But, for now, yum.  just yum.

Ingredients
  • 2 envelopes plain gelatin (like Knox)
  • 1 cup cold water
  • 2 cups turbinado sugar
  • 1 tablespoon vanilla extract
  • 1/4 teaspoon peppermint extract

Directions

Pour half of the water into a bowl.  Stir in the gelatin.  Don't worry about lumps, it'll take care of itself.  Set aside.


After several minutes - looks like applesauce!

Combine the sugar and the rest of the water in a small sauce pan.  Stir over medium heat until the sugar is melted.  Add the gelatin and stir.

Bring the sugar-gelatin water to a boil.  It'll probably take 5-10 minutes to get it to boil.  You don't have to stir constantly, but don't leave the kitchen!  


Boil the mixture for 7 minutes.  Again, don't leave the kitchen!  Boiling sugar water will get foamy and boil over really quickly.  And, trust me, it's a nasty mess to clean...  If it starts boiling over, reduce the heat or pick it up off the burner for a few seconds.


Pour the mixture into the bowl of a stand mixer and let it sit for about 20 minutes.  

Beat on high/medium-high for 15 minutes.  The mixture will go from a brown syrup to a white fluff.  Pretty!


If you're wanting squares, pour the mixture into a wax paper lined half-sized brownie pan (1.5 Qt pyrex pan) that has been dusted heavily with powdered sugar.


The hardest part of this recipe is keeping your
brood out of the fluff until it sets!

Smooth the top and let it rest in the fridge for at least 2 hours - longer is better if you can wait!


Remove the marshmallows from the pan and peel the wax paper back.  Kitchen scissors made cutting the squares really easy (but still pretty messy).  


Roll each piece in powdered sugar and knock off any excess.  


Extra tip:  Rig an old spice bottle with cheesecloth
to make an easy powdered sugar shaker!

You can store the marshmallows in an airtight container for up to a week (but they absolutely, positively will not remain uneaten that long!).


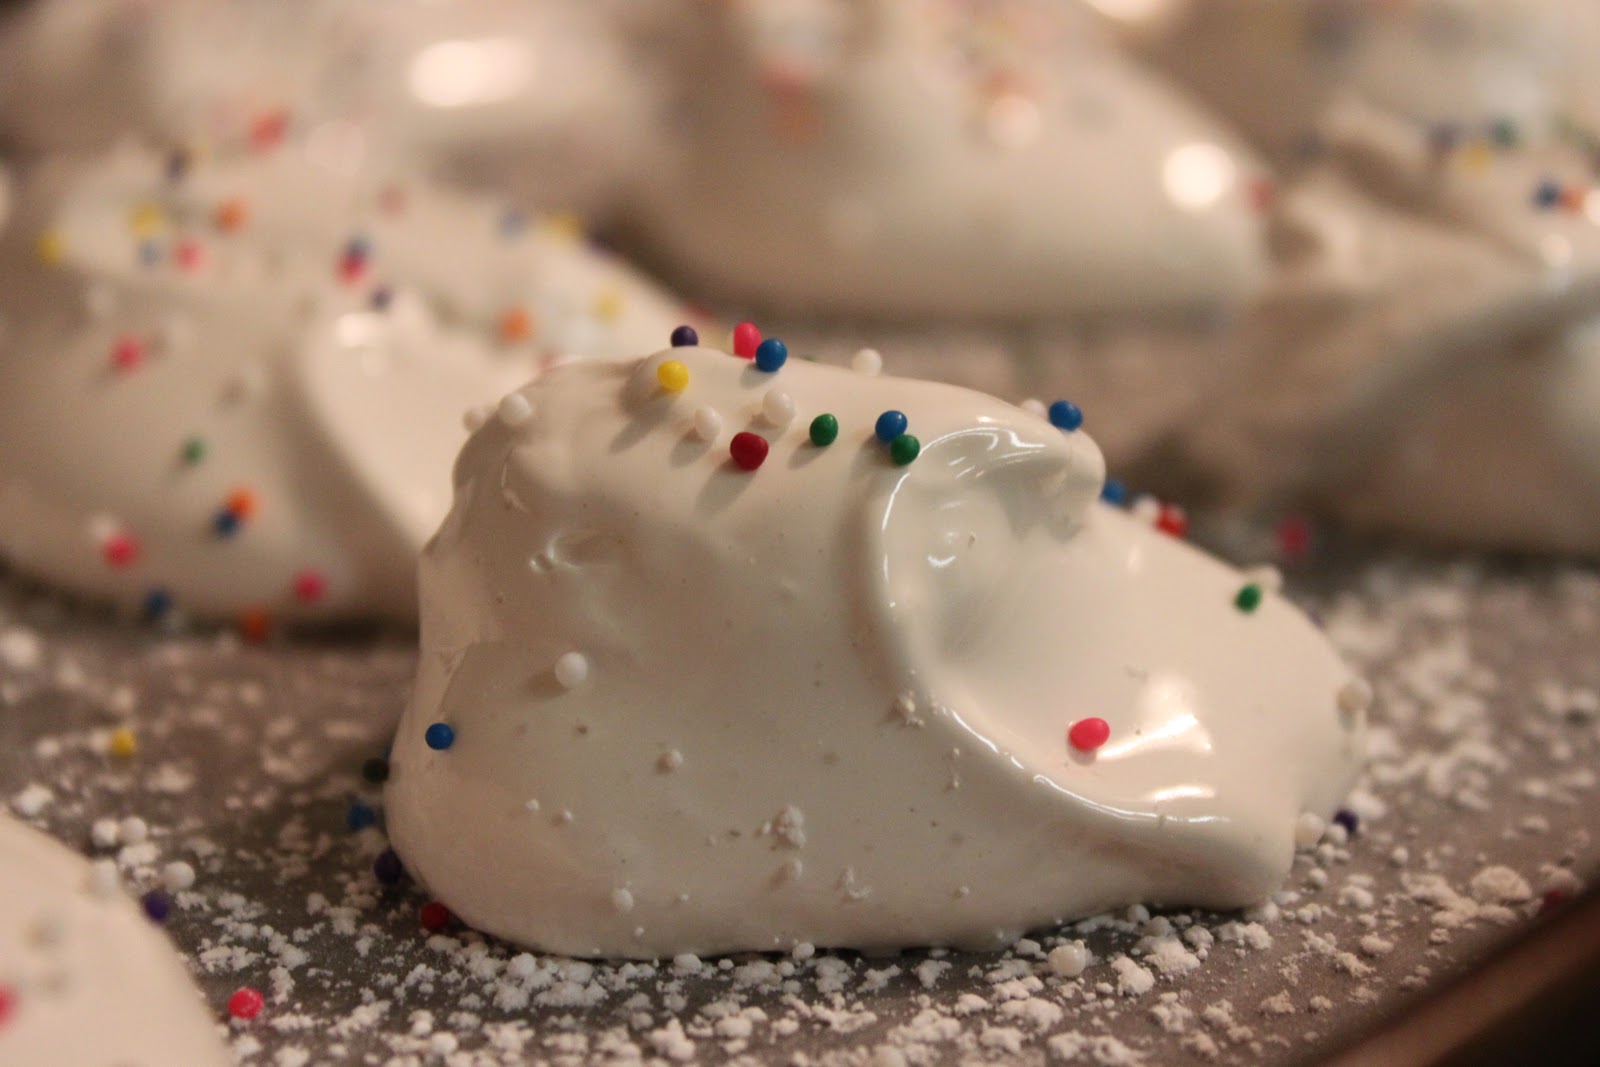
As an alternative to traditional squares, you can let the marshmallow fluff sit in the mixing bowl for 20 or so minutes after you're done beating it and then dollop it onto a lined, sugar-dusted cookie sheet.  Top with sprinkles or extra turbanido sugar for added glitz and texture!


I put a couple of big marshmallows on a plate under the broiler for a few minutes and then topped it with chocolate chips.  I scooped it on arrowroot cookies (similar to graham crackers) - oh holy moly!  Best. S'mores. Ever. Ever. Ever. Ever. Ever.


Carrot Cake Two Ways


Hello to everyone visiting from Pinterest!  I'm so happy that you've found my little corner of the Internet :) There's quite a bit here to explore, so please have a look around! Also, I'd love it if you would join us over on Facebook:


Back in my baking days (I owned a baking business through law school), I made this carrot cake for a fancypants Dallas steakhouse at least weekly. It wasn't a recipe that I had in my repertoire when the restaurant asked for it, so I started with something that I found online (sorry, it's been so long I'm not sure who to credit for this) and played around with it until it was P-E-R-F-E-C-T!

I was making this cake as payment for my office paint job (wedding singer style!), but I wanted to be able to share it with Little Bear. I know the sugar still isn't ideal, but I made some changes to health it up as much as cake can be healthed. Honestly, if you didn't know that it had been healthified, you probably couldn't even tell that it is entirely unrefined!

I'll go ahead and share the healthy and the original version here, since cake is cake and maybe just shouldn't be healthy sometimes...


Unrefined Carrot Cake (whole wheat, coconut oil, turbinado sugar)

Ingredients
  • 2 cups whole wheat pastry flour
  • 2 tablespoons vital wheat gluten
  • 1 1/1 tablespoons ground cinnamon
  • 1 1/2 teaspoons ground allspice
  • 1 teaspoon ground nutmeg
  • 2 teaspoons ground ginger
  • 1/4 teaspoon salt
  • 2 teaspoons baking soda
  • 1/2 teaspoon baking powder
  • 4 eggs
  • 3/4 cup buttermilk (or 3/4 cup whole milk mixed with 1 tablespoon vinegar)
  • 1 cup coconut oil, melted
  • 1 1/2 cups turbinado sugar
  • 2 teaspoons vanilla extract
  • 3 cups grated carrots (300 grams by weight)
  • 2/3 cup chopped pecans
  • 1 1/3 cup crushed pineapple
Directions

Do your prep work:  grate the carrots and chop the nuts.


In a large bowl, whisk the dry ingredients together until well combined.


In a medium bowl, whisk the eggs, milk, sugar, and vanilla together until well combined.  If you keep stirring, it will eventually all come together (the eggs act as a great little emulsifier).


Add the dry ingredients to the egg mixture and stir until just combined.


In the large bowl, combine the carrots, pecans, and pineapple.  Mix well.


Add the batter to the carrot mixture and mix until the batter is homogeneous throughout.


Grease two round 8" pans.  Divide batter evenly between the pans.


Bake at 350 for 45 minutes.


Alternatively, bake cupcakes for 30 minutes.  Makes 2 dozen cupcakes.

Frost with cream cheese frosting (sorry, but there is just no way to make cream cheese frosting healthy!).  I make mine with one 8 ounce block of cream cheese, one 4 ounce stick of butter, one bag of powdered sugar, and one tablespoon of vanilla extract.  Let the cream cheese and butter come to just below room temperature.  Beat cream cheese and butter for several minutes, pushing the sides down as needed.  SLOWLY add the powdered sugar, beating well between additions.


Traditional Carrot Cake

Ingredients
  • 2 cups unbleached all-purpose flour
  • 1 1/1 tablespoons ground cinnamon
  • 1 1/2 teaspoons ground allspice
  • 1 teaspoon ground nutmeg
  • 2 teaspoons ground ginger
  • 1/4 teaspoon salt
  • 2 teaspoons baking soda
  • 1/2 teaspoon baking powder
  • 3 eggs
  • 3/4 cup buttermilk (or 3/4 cup whole milk mixed with 1 tablespoon vinegar)
  • 1 cup vegetable oil
  • 1 1/2 cups brown sugar
  • 2 teaspoons vanilla extract
  • 3 cups grated carrots (300 grams by weight)
  • 2/3 cup chopped pecans
  • 1 cup crushed pineapple
Follow the same directions from above.


Homemade Animal Crackers

Little Bear is a snacker.  I think if we eliminated sit-down meals and just snacked all day, he'd be totally fine with it.  He'd actually probably be extremely happy with it.  The problem is that there really aren't many low-sugar, organic, whole grain snacks available.  Even at Whole Foods, the choices are incredibly limited.  My motto these days has been, if you can't buy it or can't afford to buy it ... DIY it!

I pulled this recipe from an old Pinterest pin and revamped it a little to make it even more healthy.  They are 100% whole grain, lower in sugar & high in fiber!  Plus, they really do taste awesome.  I've had to threaten Husband's life a couple of times to keep his hand out of the (literal) cookie jar...

The recipe makes about 100 small cookies, or about 7 cups of cookies.  I'll be doubling it next time, for sure!

Ingredients
Directions

1.  In a medium bowl, whisk together the first 6 ingredients, and set aside. 


2.  In the bowl of a stand mixer, cream the butter and sugar together for about 2 or 3 minutes.  Add the egg and the vanilla and beat until well blended. 

3.  With the mixer on low, add the dry ingredients slowly.  Continue to mix just until the mixture is combined.

4.  Lightly flour a piece of plastic wrap, and turn the dough out on it.  Shape the dough into a ball, and then flatten it into a 1-inch thick disk.  Wrap the ball tightly and refrigerate it for at least 2 hours.

5.  When ready to bake, remove the dough from the refrigerator and allow it to warm up for about 10 minutes.  Roll the dough out on a lightly floured surface to about 1/8 inch thick.  If the dough sticks to the rolling pin or starts to crack, lightly dust the top with flour and continue working.

6.  Dip the bottom of your cookie cutters in flour, then press into the dough.  You'll probably have to redip the cutters about every-other cookie. 

7.  I used little animal cutters (about 1 1/2 inch each), but if you wanted to skip the cutting, you could just use a knife to cut the dough into squares.  After making animals out of the first 3/4 of the dough, I got bored and just cut the rest.

8.  Use a thin spatula to transfer the cut-outs to a parchment-lined baking sheet.  They won't rise much, so you can place them pretty close to each other.

9.  Put the baking sheet in the freezer for about 15 minutes.  Then, bake at 350 degrees for about 10 minutes.  Adjust the baking time for your preference:  less for softer cookies, a little more for crunchier cookies.

10.  If you want a crispier cookie, transfer the cookies to a wire cooling rack as soon as they've cooled enough to handle.  Otherwise, the steam will be trapped and the bottom sides will be a little soft.

Store the cookies in an air-tight jar or bag for up to a week (probably even longer...)
Related Posts Plugin for WordPress, Blogger...